How to Make Wedding Address Labels from Google Sheets (Free & Easy)
The stress-free guide to printing elegant wedding address labels directly from your Google Sheets guest list. No mail merge headaches, just beautiful labels.
Planning a wedding involves a million details, and addressing hundreds of envelopes shouldn't be the thing that breaks you. If you've already organized your guest list in Google Sheets, you're 90% there.
SheetsToLabels is the easiest way to turn that spreadsheet into professional, elegant Address Labels without fighting with printer settings or installing complex software.
Why Use Google Sheets for Wedding Labels?
- Collaboration: easy for you, your partner, and parents to add addresses simultaneously.
- Accuracy: Minimize typos by collecting addresses via Google Forms directly into your sheet.
- Efficiency: Print all your labels in one batch instead of hand-writing each one.
Step 1: Prepare Your Guest List
Ensure your Google Sheet is clean and organized. We recommend having separate columns for:
- Name: (e.g., "Mr. and Mrs. John Smith" or "The Doe Family")
- Address 1: (Street address)
- Address 2: (Apt, Suite, optional)
- City, State, Zip: (Can be one column or separate, flexibility is key)
[!TIP] Use a Google Form to collect addresses from guests. It automatically populates a Google Sheet for you!
Step 2: Choose an Elegant Template
Go to our Label Designer and search for "Address Labels".
We offer clean, minimalist designs that serve as a perfect canvas. You can:
- Choose a handwritten-style font like Great Vibes or Dancing Script for that calligraphy look.
- Add a small wedding icon or your monogram if desired.

Step 3: Connect Your Guest List
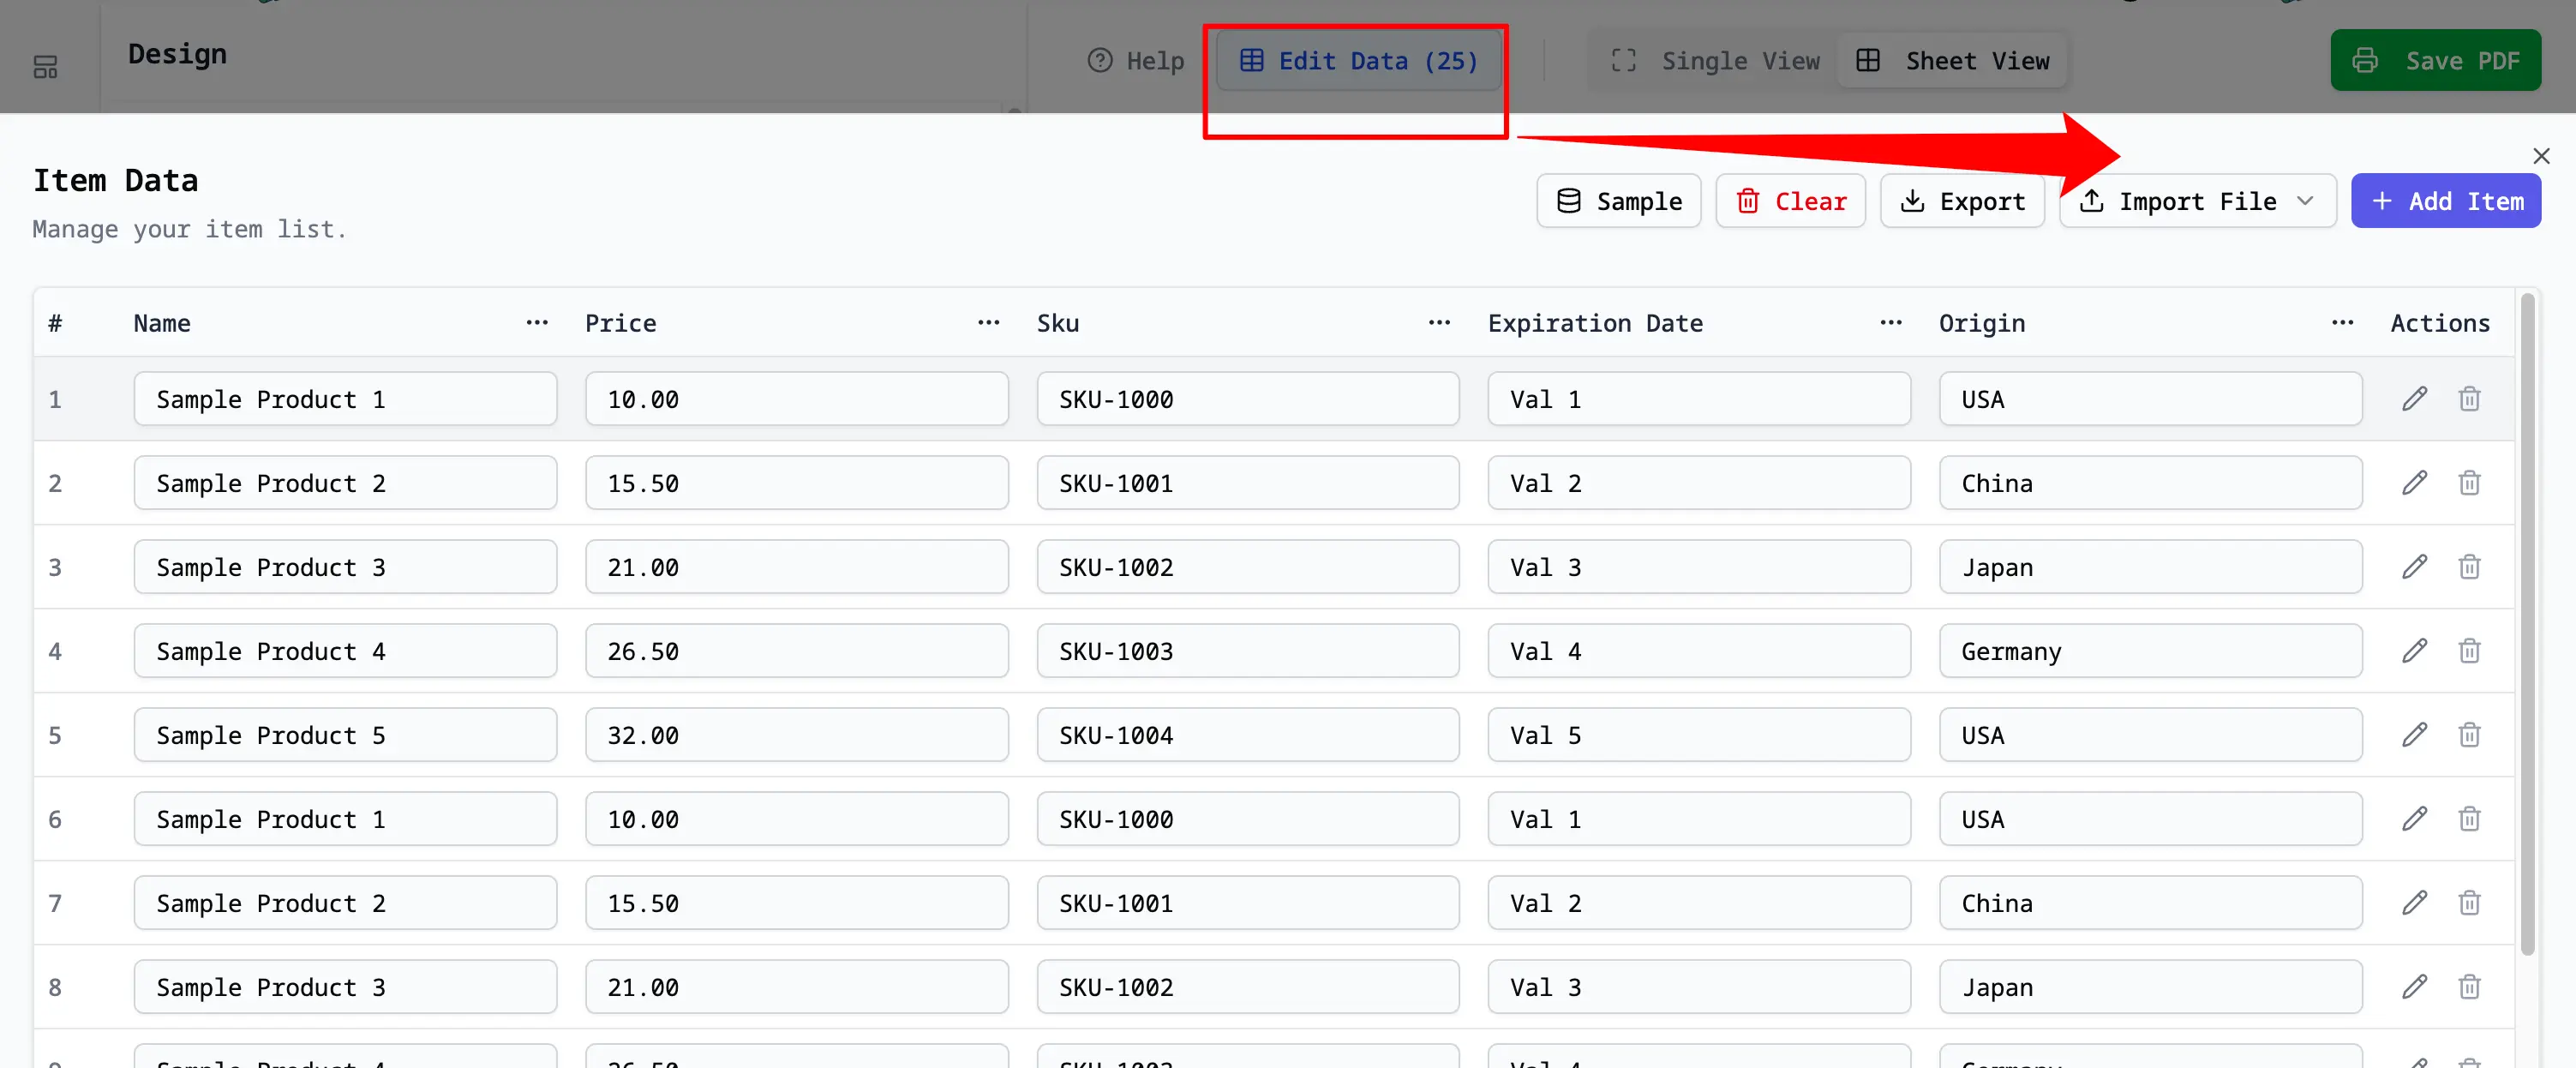
Click Edit Data and import your Google Sheet.
- Select "Import from Google Sheets".
- Authorize access to your wedding guest list sheet.
- Your data will appear in the table.
Step 4: Map Your Data
Now, make the labels dynamic:
- Click on the "Name" text box on the label design.
- In the sidebar, check Data Binding.
- Select your Name column from the dropdown.
- Repeat for Address, City, State, and Zip.
You'll see a preview of your actual guest names appear on the label!
[!TIP] Used a casual font? Make sure it's legible! Font size 12-14 is usually best for readability on envelopes.
Step 5: Print & Celebrate
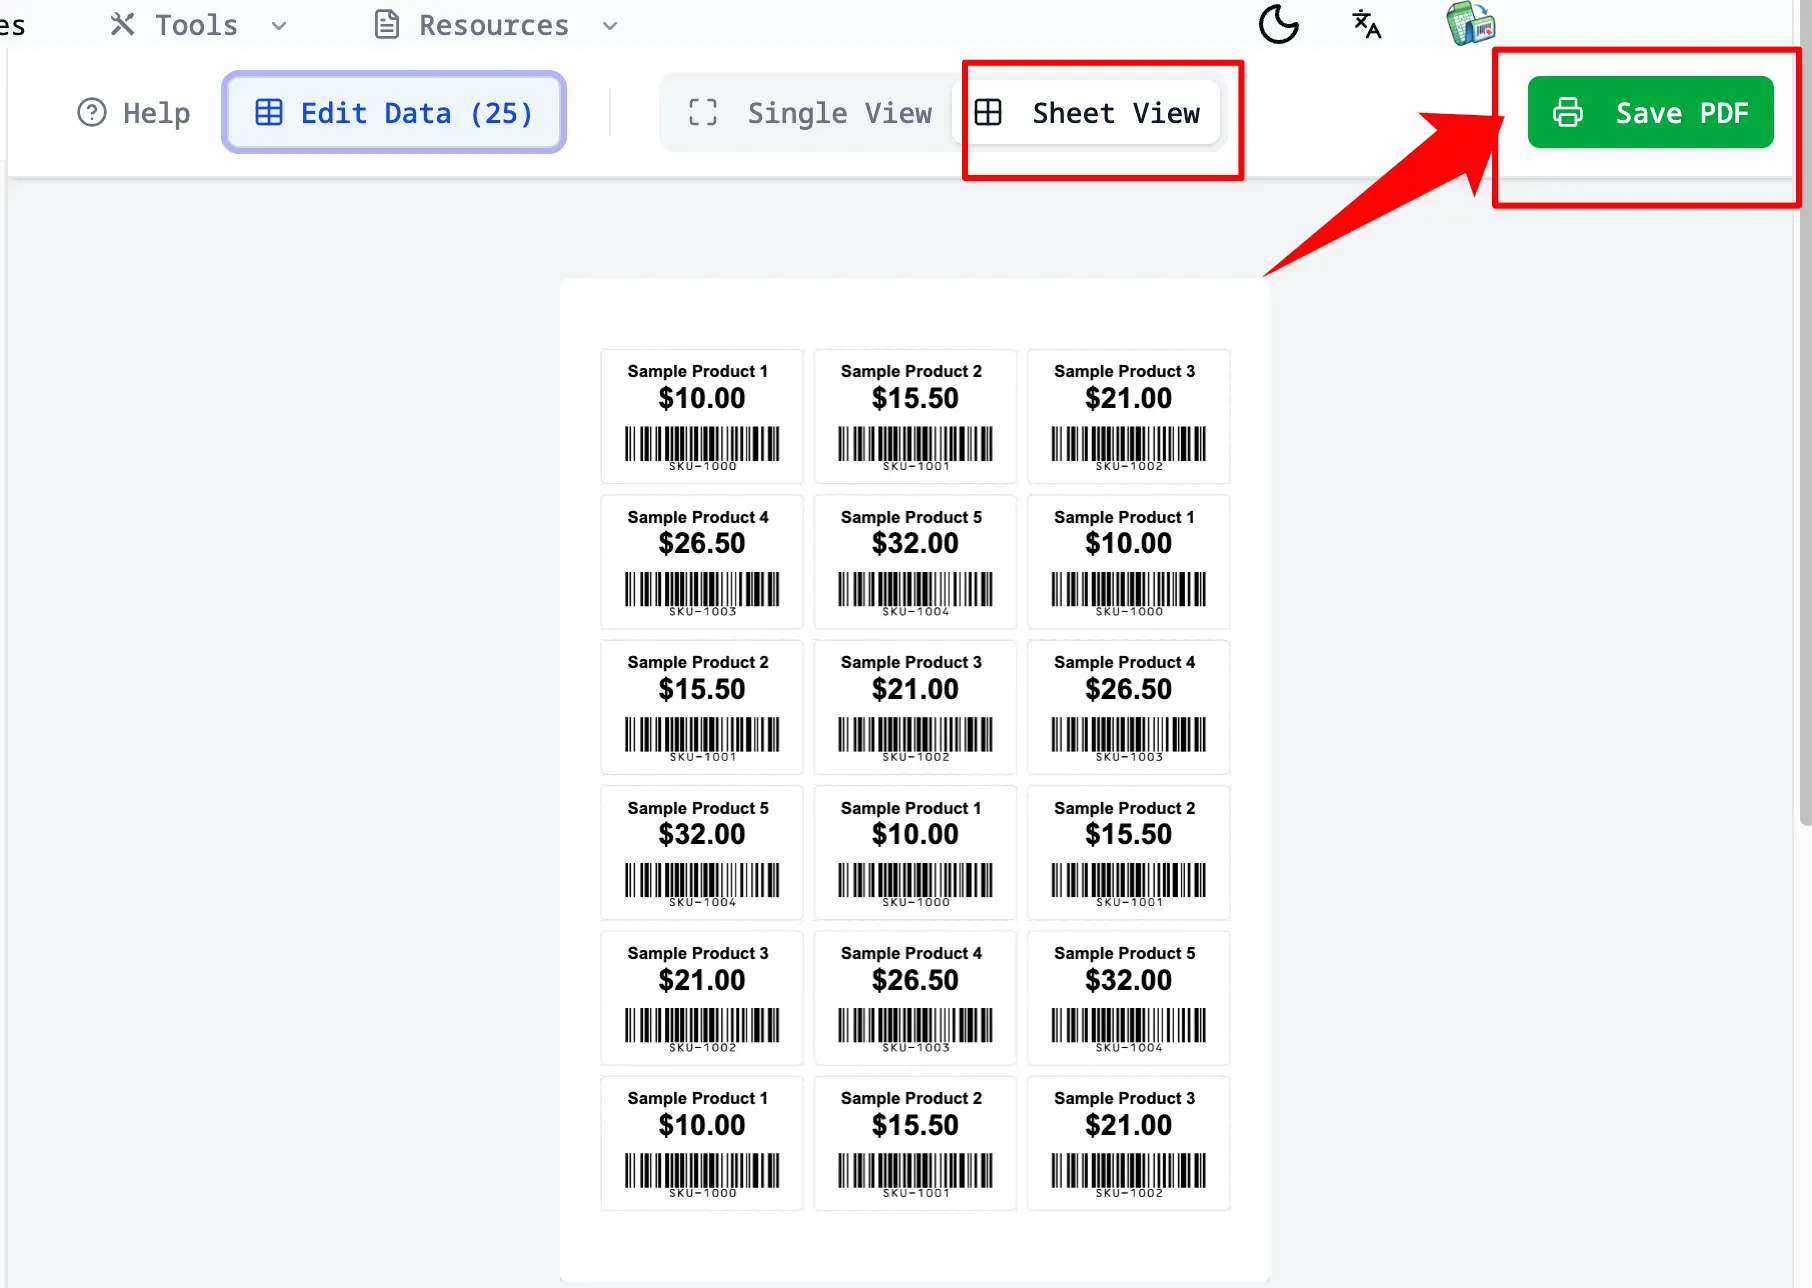
Switch to Sheet View to see how your labels will look on the full page.
- Load your printer with your preferred label paper (e.g., Avery 5160 for standard addressing, or clear labels for a seamless look).
- Click Print PDF.
- Critical Step: Ensure your printer scale is set to 100% (do not "Scale to Fit") to align perfectly with the sticker sheet.
Frequently Asked Questions
Can I use clear labels? Yes! Our pdfs are compatible with standard clear label sheets. Just make sure to test print on plain paper first to check alignment.
How do I handle international addresses? Our tool adapts to your data. If you have a longer address, you can set the text to "Auto-fit" or simply ensure your text box is large enough to accommodate 3-4 lines of text.
Is it really free? Yes, SheetsToLabels is free to use. We want your big day to be perfect, starting with the very first piece of mail your guests receive.