How to Make Product Price Tags with Barcodes from a Spreadsheet
Step-by-step guide to creating professional retail price tags in SheetsToLabels. Attach barcodes to SKU data, format currency symbols, and print on standard or specialty label paper.
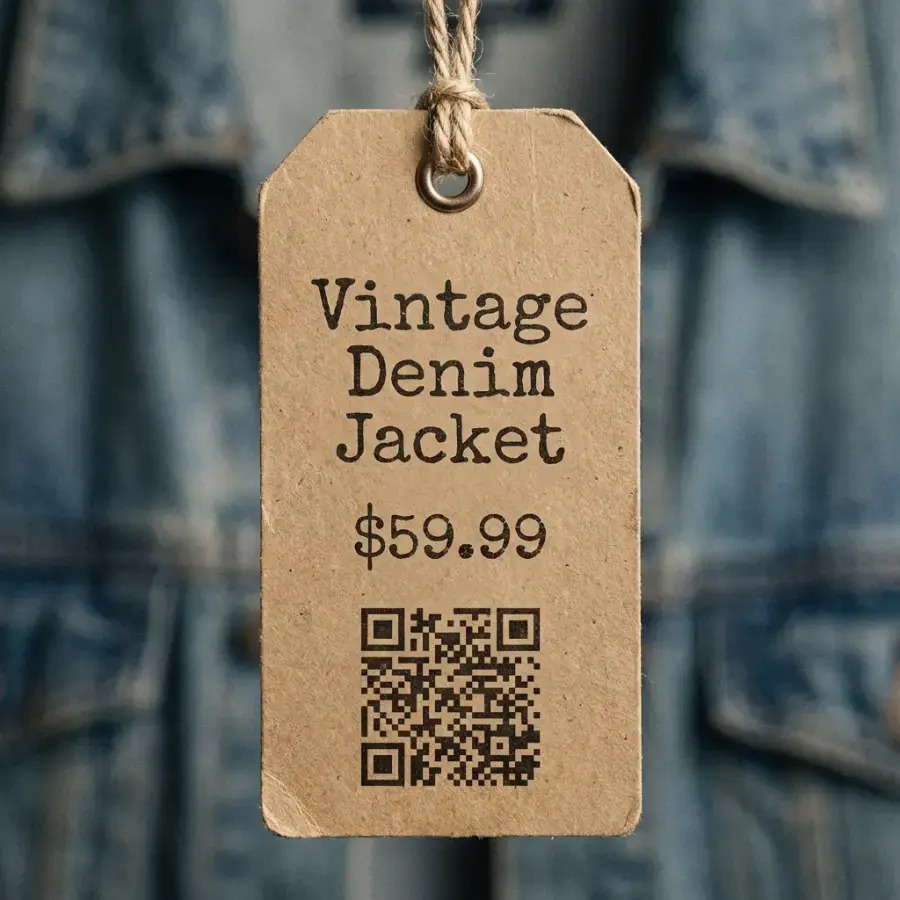
Price tags often need to be small, dense with information, and scannable. Label Designer lets you build one reusable tag, connect it to spreadsheet rows, then export a printable PDF for sheets, thermal labels, or custom stock.
1. Prepare Data
Columns needed:
product_name(e.g., "Silk Scarf")price(e.g., "25.00")sale_price(optional)sku(e.g., "SCARF-001") - for the barcodevariant(optional, such as "Red" or "Small")barcode(optional, if different from SKU)
2. Choose Template
Retail tags can use different physical layouts:
- Thermal labels: One label per roll position, common for retail price labels and barcode labels.
- Avery-style sheets: Multiple labels per Letter or A4 page.
- Hang tags: Custom rectangles with a tag-hole shape for cardstock or jewelry tags.
- Custom grids: Useful when printing on cardstock and cutting later.
3. Design Layout
- Product name: Use a text element bound to
product_name. - Price: Use a dynamic text template such as
${{price}}; make this the largest element. - Sale marker: Use a starburst, diamond, ribbon, or colored shape for sale tags.
- Barcode:
- In Design Label mode, add a Barcode element from the Design sidebar tab.
- Connect it to the
skuorbarcodecolumn. - Use EAN-13 (if you have GTINs) or Code 128 (internal use).
- Ensure it's not too small to scan.
- Human-readable SKU: Add a text element such as
SKU: {{sku}}below the code.
4. Tips
- Currency Symbol: If your data is just
25.00, add the$in the text template:${{price}}. - Discount Codes: Add a small distinct marking, such as a starburst or dot, for items on sale.
- Barcode Safety: Print one sample and scan it before running the full batch.
- Template Reuse: Save the finished layout to My Templates if you will reuse it with new product rows.