
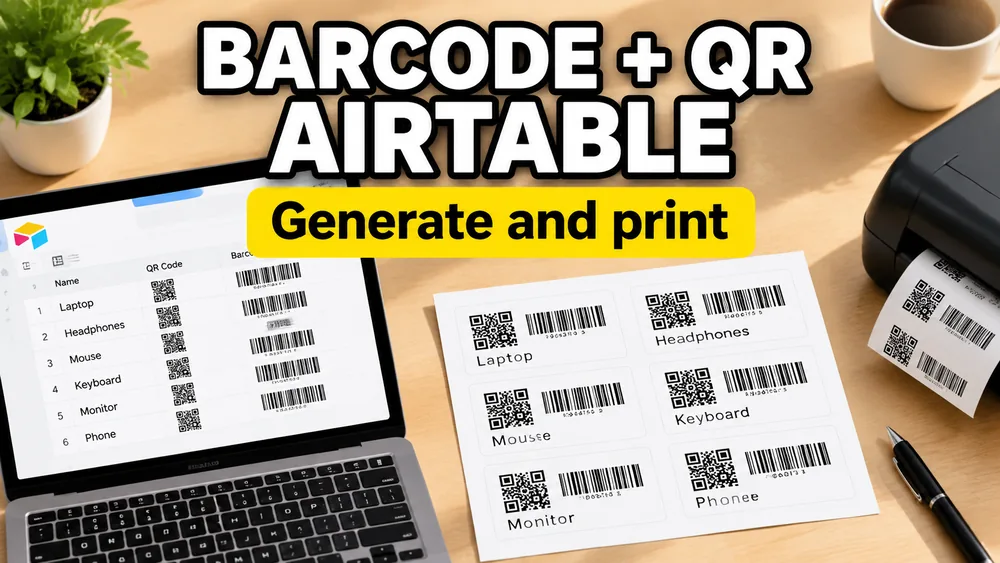
Airtable is a powerful tool for tracking retail inventory, managing warehouse assets, and organizing equipment. However, when it comes to turning that data into physical labels, printing scannable barcodes or QR codes can be frustrating.
To print barcode or QR code labels from Airtable, export your records as a CSV file, import the file into a dedicated barcode printer tool, map your database fields onto barcode and QR components, and download a print-ready PDF.
By using this export-and-print workflow, you can generate thousands of scannable barcode tags without buying expensive Airtable extensions or configuring complex database automations.
Airtable Label Maker
Export your Airtable view as CSV, import it into our designer, map fields onto any label layout, add barcodes or QR codes, and export a print-ready PDF — no extra extensions needed.
The Core Challenge with Airtable Barcodes
While Airtable offers a barcode field type, it only stores the barcode value (the text/number) or scan data. It does not automatically render the scannable visual barcode bars or QR pixels in a print-ready layout.
Standard options like the Airtable Page Designer block can be difficult to set up, lack support for standard barcode formats (like Code 128 or EAN-13), and often do not align properly on standard Avery sheets or thermal label rolls.
By exporting your records and using our specialized online Airtable Label Maker, you can instantly map these barcode values to scannable formats. Let's look at the exact steps to get this working.
Step-by-Step Guide to Printing Airtable Barcodes
Step 1: Set Up Your Airtable Fields
Before exporting, ensure your Airtable table contains the fields required for the label design. For a typical warehouse or retail label, you will need:
- Item Name / Title: The readable product description.
- SKU or Barcode Value: The alphanumeric code that will generate the barcode.
- URL (Optional): If you want to print QR codes that link to product pages or equipment check-in sheets.
- Quantity (Optional): A field to define how many copies of each label to print.
[!TIP] Keep your barcode values clean. Alphanumeric characters are supported by most standard barcode types. If you are printing QR codes, ensure your URL starts with
https://so phones can resolve the link immediately.
Step 2: Create a Filtered Print View and Export
Do not export your entire database if you only need to print labels for a small batch of new products.
- Create a grid view in Airtable named
Barcode Printing. - Apply filters (e.g.,
Status = "Ready to Print"orDate Added = Today). - Hide columns that are not needed on the physical tag (like internal formulas or notes).
- Click the view header dropdown and select Export to CSV.
Step 3: Import into the Barcode Generator
Once you have your CSV file, open the Bulk Barcode Generator.
- Select Import CSV and choose the file you just exported from Airtable.
- Select your target label layout. You can choose Avery-style sheets (like Avery 5160 for small labels or Avery 5163 for shipping tags) or thermal label rolls (like 57x32mm or 50x25mm).
- The tool will parse your headers and show a live template preview.
Step 4: Map the Barcode and QR Fields
Now, map the text columns from your CSV to the visual elements on the label:
- Bind the Barcode Element to your
skuorbarcodecolumn. You can choose standard barcode formats like Code 128 (best for general retail and assets), EAN-13 / UPC-A (for standard consumer goods), or QR Codes (best for linking to URLs). - Bind the Text Fields to your
name,price, orlocationcolumns. - If your spreadsheet includes a
quantitycolumn, select it to automatically expand each row into the correct number of printed stickers.
If you need a more advanced design where you can reposition text, resize barcodes, or add custom branding, you can open our Airtable Label Maker which includes a full drag-and-drop designer.
Step 5: Export the PDF and Print
Review the live preview to verify that long product names fit and that the barcodes do not overlap other text. Click Export PDF to generate the document.
When printing, always configure your printer settings as follows:
- Set scaling to 100% or Actual Size (never use "Fit to Page").
- Match the paper size to your template (US Letter for Avery sheets, or custom roll size for thermals).
- Print a single test page on normal paper first and overlay it on your sticker sheet to verify alignment.
Best Practices for Scannable Barcode Labels
To ensure your warehouse scanners or POS terminals can read the printed labels instantly, follow these guidelines:
- Maintain the Quiet Zone: Barcodes require white space (quiet zones) on the left and right sides. Do not place borders or text too close to the barcode.
- Ensure High Contrast: Always print black barcodes on white labels. Colored backgrounds or faint print heads will cause scanning failures.
- Choose the Right Format:
- Use Code 128 if your barcodes contain letters and numbers.
- Use UPC-A (US) or EAN-13 (International) only if your values are valid 12-digit or 13-digit numbers.
- Use QR Codes if you want users to scan the label using a smartphone camera to view a web URL.
Going Beyond Labels: Document Automation
If you need each Airtable record to generate a full document (like an invoice, contract, certificate, or tax form) instead of a sheet of barcode stickers, exporting to a label sheet is not the best choice. In those cases, you should read our guide on how to fill PDF forms from Airtable or use our dedicated Airtable to PDF form filler.
If an Airtable automation, middleware service, or your own backend can send an authenticated HTTP request, the Label Generation API can generate the print-ready PDF without a manual CSV export. This is a REST integration rather than a native Airtable extension; see how label PDF generation from JSON works before choosing that workflow.
For general label printing workflows, you can also refer back to our comprehensive how to print labels from Airtable guide.