
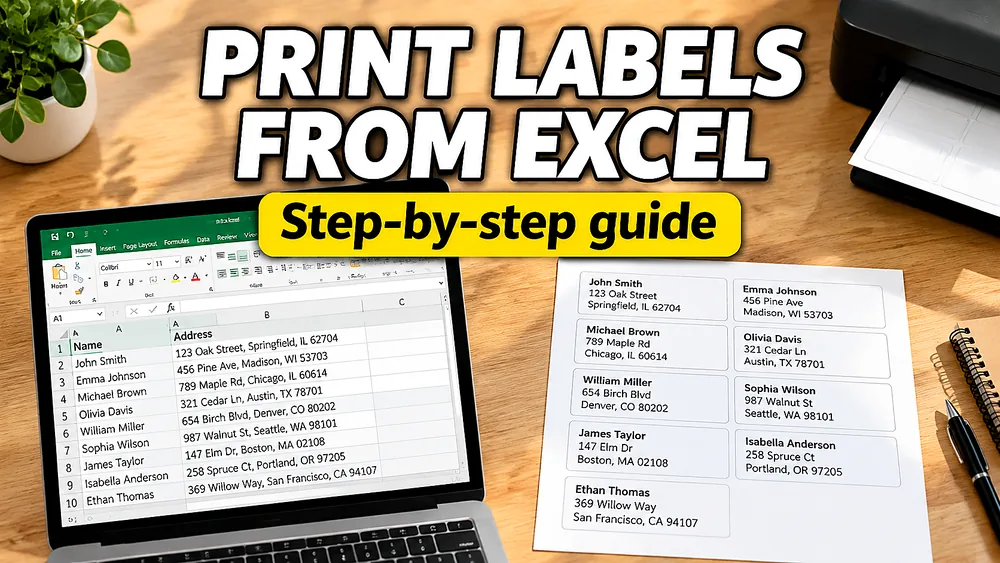
On Windows, Word's mail merge wizard is at least predictable. On Mac, it is a different story.
Mac users trying to print Avery labels from Excel run into a short list of bad options: Word for Mac's mail merge is missing steps that exist on Windows, Pages has no mail merge at all, and the manual copy-paste method for 30 or 300 labels is not a serious option.
Here is a workflow that works on any Mac — Apple Silicon, Intel, running Ventura, Sonoma, or Sequoia — and requires no Word, no Pages, and no extra software installation.
Excel Label Printing Tool
Ditch Word mail merge. Upload your .xlsx or .xls spreadsheet, place fields visually, and generate perfectly aligned label PDFs in seconds.
Why Word Mail Merge Is Frustrating on Mac
Word for Mac supports mail merge but the experience is substantially worse than on Windows:
- The Mailings tab has fewer options and the label wizard behaves differently between Word versions
- Data source connections break when the Excel file is moved, renamed, or the path changes
- ZIP codes stored as numbers in Excel lose leading zeros —
01234becomes1234and prints incorrectly - The wizard requires you to re-link data every time, and the steps to find your Avery template number vary by Word version
- On M1 and M2 Macs, some users report Word crashing during the merge step or the preview showing blank labels
Even when the merge works, the result is a Word document — not a PDF. Printing from Word on Mac adds another layer of uncertainty around page scaling and printer margin handling.
The Alternative: Upload Excel, Export PDF
The approach below uses Excel to Labels — a browser-based tool. It runs on any Mac in Safari, Chrome, or Firefox. No download, no installation.
What you need
- Your Excel file (
.xlsx) with one row per label and column headers in row 1 - The Avery product number from your label packaging (e.g.
5160,5163,8160) - Any Mac with a web browser
Step 1: Check your Excel file
Open the file and confirm:
- Row 1 contains headers:
name,address,city,state,zip(or whatever your column names are) - Each subsequent row is one label
- ZIP codes and other codes with leading zeros are formatted as text, not numbers
To format ZIP codes as text in Excel on Mac: select the ZIP column, right-click → Format Cells → Category: Text. Then re-enter any codes that already lost their leading zeros.
If you have a copies or quantity column (a number indicating how many labels to print per row), that will carry through automatically.
Step 2: Upload the file
Open Excel to Labels in your browser.
Click Upload Excel file and select your .xlsx file. The tool reads the file locally in your browser. The data does not leave your Mac during this step.
You will see a preview of the detected column headers. Confirm they look correct.
Step 3: Choose your Avery-compatible template
Select the label template that matches your physical stock. Common options:
| Avery number | Layout | Paper | Typical use |
|---|---|---|---|
| 5160 / 8160 | 3 × 10 (30 labels) | US Letter | Address labels |
| 5163 / 8163 | 2 × 5 (10 labels) | US Letter | Shipping labels |
| 5167 | 4 × 20 (80 labels) | US Letter | Return address |
| 5261 | 2 × 10 (20 labels) | US Letter | File folder labels |
| L7160 | 3 × 7 (21 labels) | A4 | European address labels |
If your product number is not listed, check the package for the physical dimensions: label width, label height, number of columns, number of rows, top margin, left margin, and column and row gap. Enter these as a custom template.
Step 4: Place your columns on the label
The label canvas shows a single label at actual size. Drag text elements onto the canvas and bind each one to the matching column from your Excel file.
For a standard mailing label:
- Line 1:
{{name}}or{{first_name}} {{last_name}} - Line 2:
{{address}} - Line 3:
{{city}}, {{state}} {{zip}}
The double-brace syntax lets you combine multiple columns into one text element. Adjust font size and element position so everything fits within the label boundary.
If you want to add a logo or small image, upload it and place it in a corner of the canvas.
Step 5: Preview the full sheet
Switch to preview mode. The tool renders all your Excel rows onto label sheet pages. Scroll through to check:
- Long addresses fit on two lines without clipping
- ZIP codes print with leading zeros
- International addresses with longer lines are not cut off
- The last label on the sheet is not pushed past the page edge
If anything looks wrong, go back to the design step and adjust. No other labels are affected when you change the canvas.
Step 6: Export the PDF
Click Export PDF. A PDF is generated and downloaded to your Mac.
Open the PDF in Preview (the default Mac PDF viewer). Do not print from the browser — use Preview or Adobe Reader for more reliable scale control.
Step 7: Print at 100%
In Preview, go to File → Print (⌘P).
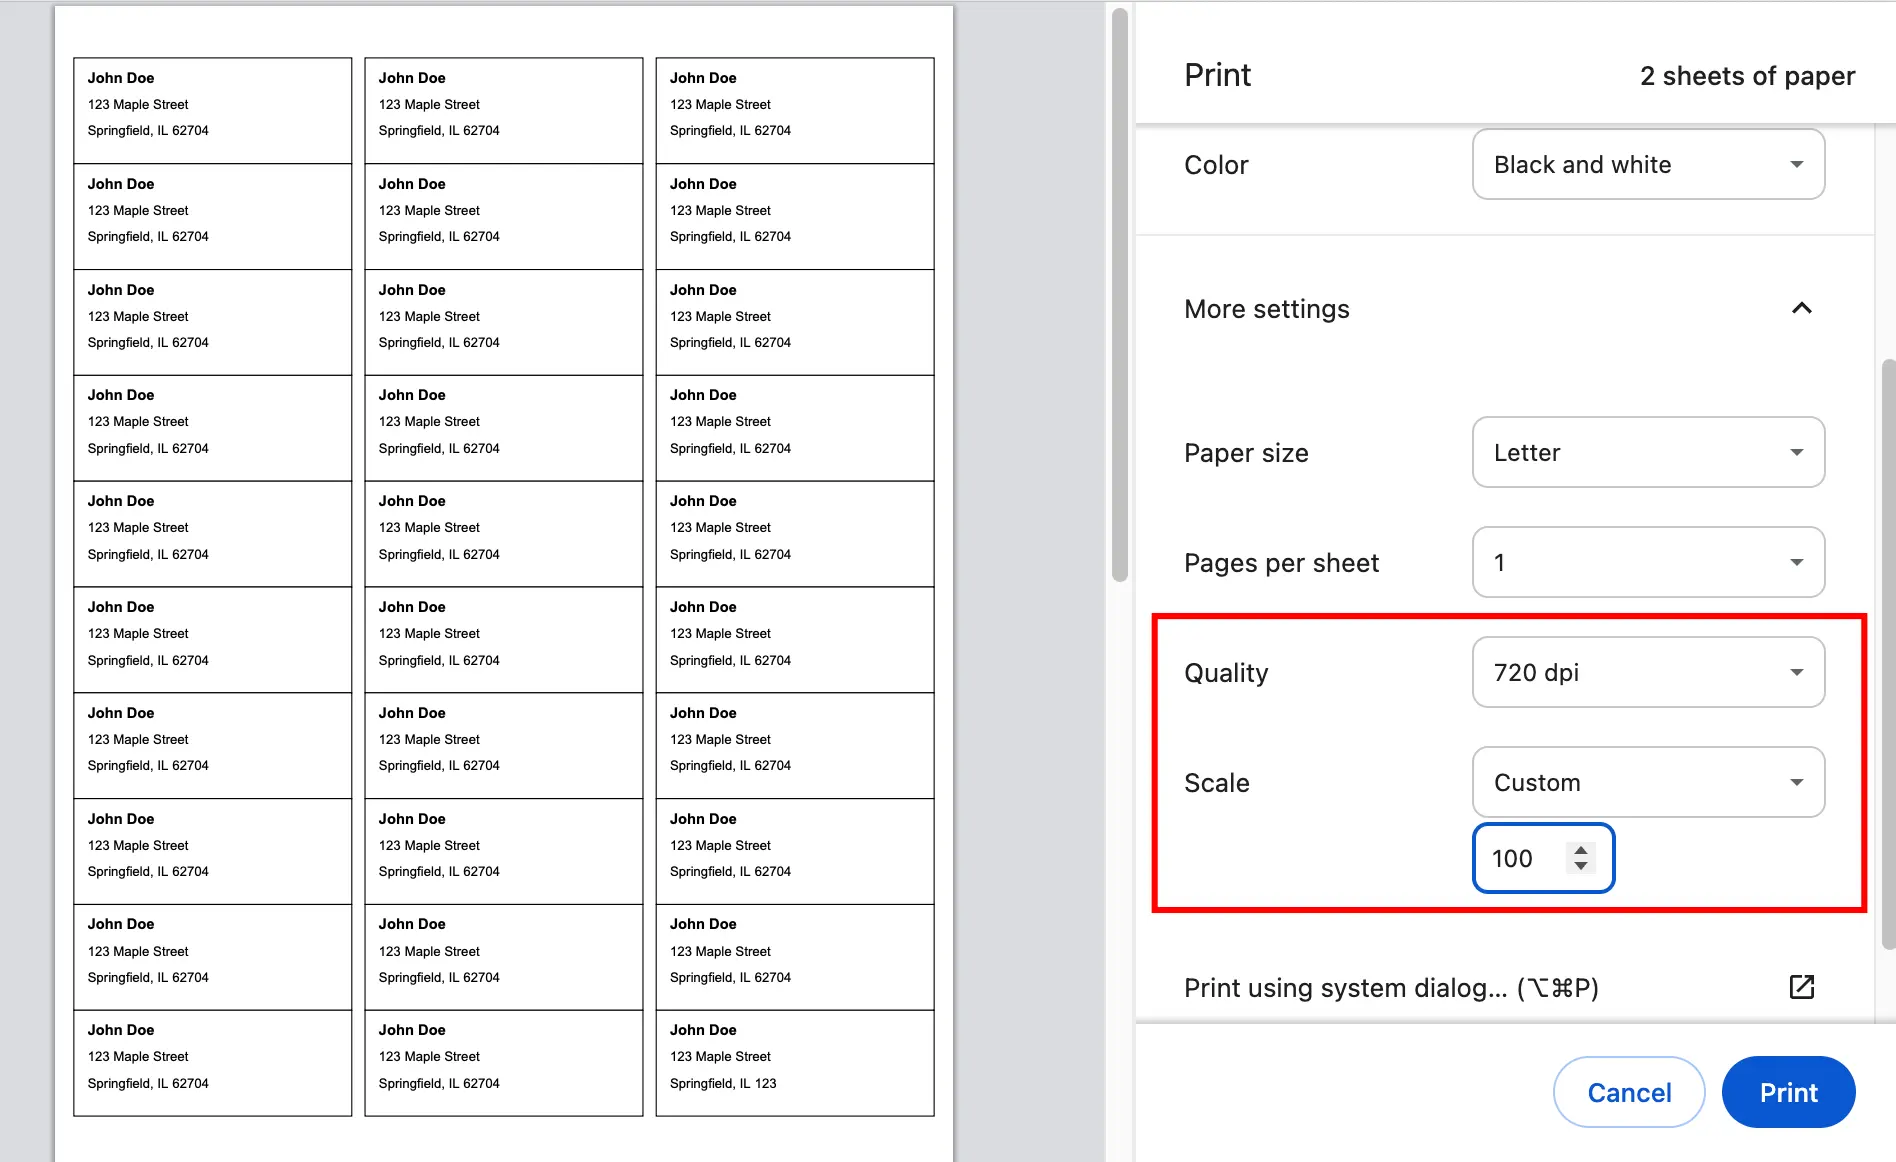
In the print dialog:
- Set Scale to
100% - Confirm Paper Size matches your label stock (US Letter or A4)
- Do not check "Scale to Fit" or "Fill Entire Paper"
Click Print. Every label lands at the correct position.
Test on plain paper first. Print one sheet on a regular piece of paper, hold it up to a light against your label sheet, and confirm the text falls within the label outlines. This takes 30 seconds and saves an entire sheet of label stock.
Handling Common Excel Data Problems
ZIP codes lost their leading zeros
This happens when Excel auto-formats a number column. Before uploading, select the ZIP column in Excel, right-click → Format Cells → Text. If the zeros are already gone, re-enter the affected values.
Alternatively, add an apostrophe before the ZIP code ('01234) to force Excel to treat it as text.
Some rows have two address lines
Add a second address column (address2 or suite) to your Excel file. In the label designer, add a second text element for that column and set it to show nothing if the field is empty using the dynamic text template: {{address2}} on its own line.
Some rows should print multiple copies
Add a copies column to your Excel file with the number of labels needed per row. The tool reads this column and repeats that row the correct number of times in the PDF.
The company name is longer than the label width
Reduce the font size of that element, or move the company name to a smaller text element above the address. The canvas lets you set different font sizes for different elements on the same label.
Comparing This Workflow to Word Mail Merge on Mac
| Step | Word for Mac mail merge | Sheets to Labels browser workflow |
|---|---|---|
| Open and link Excel file | Open Word, Mailings tab, Select Recipients, find file | Upload .xlsx in browser |
| Choose Avery template | Mailings → Labels → Avery product number (varies by Word version) | Select from template list or enter custom dimensions |
| Place fields on label | Insert Merge Field, repeat for each field | Drag text elements, type {{column_name}} |
| Preview | Toggle preview in ribbon | Switch to preview tab |
| Handle leading-zero ZIPs | Often fails — requires pre-formatting in Excel | Reads text-formatted cells correctly |
| Handle quantity per row | Requires macro or workaround | Built-in copies column support |
| Output | Word document | |
| Print alignment | Browser or Word print dialog, variable | PDF viewer at 100% scale, consistent |
| Data stays on Mac | No — Word reads file at print time | Yes — file processed locally in browser |
For Recurring Label Jobs
If you run the same label batch monthly — a nonprofit donor mailing, a school parent directory, a recurring shipment — save your label template. The canvas design persists. Each month, upload the new Excel export, confirm the column mapping, and export a new PDF. The same template covers every batch.
If your data lives in Google Sheets instead of Excel, Google Sheets to Labels connects directly without an export step. The rest of the workflow is identical.
Frequently Asked Questions
Does this work on M1 and M2 Macs?
Yes. The tool runs entirely in the browser. It does not depend on Rosetta, any native library, or any version of Office. Safari, Chrome, and Firefox all work on Apple Silicon.
What if my Avery number is not in the list?
Use the custom template option. Enter the physical measurements from the label package: label width, label height, number of columns, number of rows, top margin, left margin, column gap, and row gap. All values can be entered in millimeters or inches.
Can I print on A4 label sheets?
Yes. Change the paper size in the template selector to A4. Common A4 layouts include L7160 (21 labels), L7163 (12 labels), and others. Enter the measurements from your label package if the number is not listed.
Does the file leave my Mac?
No. The Excel file is read by the browser using local file APIs. The data does not pass through a server during the label generation step. The PDF is generated in the browser and downloaded directly to your Mac.
Can I add a logo to the label?
Yes. Upload an image in the label canvas and place it in any position. Common uses include a return address section with a small company logo, a QR code for a product page, or a school crest on student name tags.
What if the labels still drift even after exporting a PDF?
The most common cause after switching to a PDF workflow is printing at a scale other than 100%. In Preview on Mac, make sure the Scale field in the print dialog shows 100% — not Fit to Page, Fill Entire Paper, or any other percentage. See the label alignment troubleshooting guide for the full checklist.