
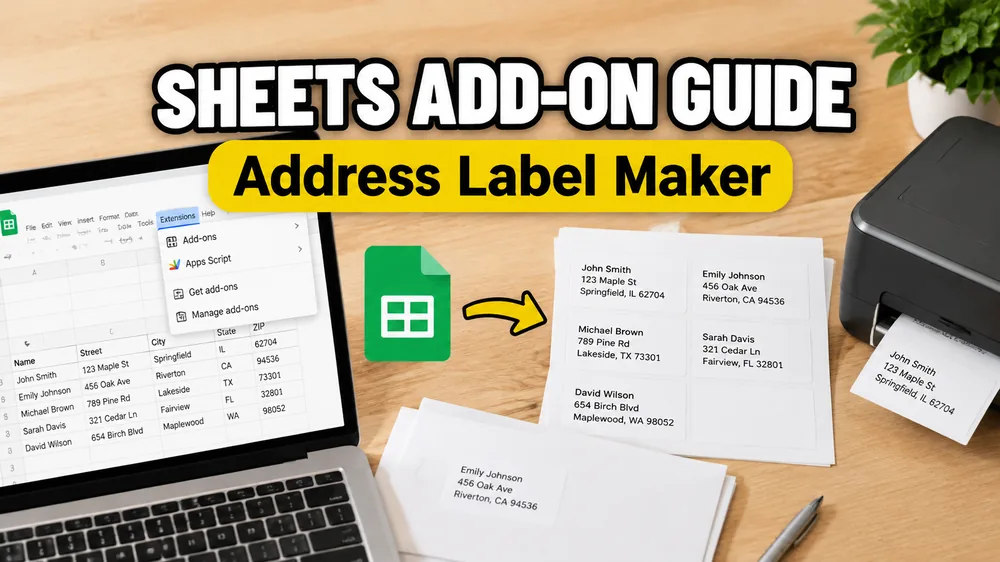
Address Label Maker can start from Google Sheets through the Google Workspace Marketplace add-on. The add-on is useful when your mailing list already lives in a Google Sheet and you want to launch the label workflow from the active spreadsheet.
The full label editor opens on sheetstolabels.com, where there is enough room to choose templates, place fields visually, preview the full sheet, and export a print-ready PDF.
Short Version
- Install Address Label Maker from Google Workspace Marketplace.
- Open the Google Sheet that contains your address list.
- Use Extensions > Address Label Maker > Create Address Labels.
- Confirm the detected sheet data.
- Continue in the visual browser editor.
- Choose an address-label layout such as Avery 5160.
- Preview the labels.
- Export the PDF and print at
100% / Actual Size.
Install the Add-on
Install the official Google Sheets add-on from the Google Workspace Marketplace listing.
After installation, open the spreadsheet you want to use for mailing labels. The add-on is designed for sheets where Row 1 contains headers and each following row contains one recipient.
Prepare the Active Sheet
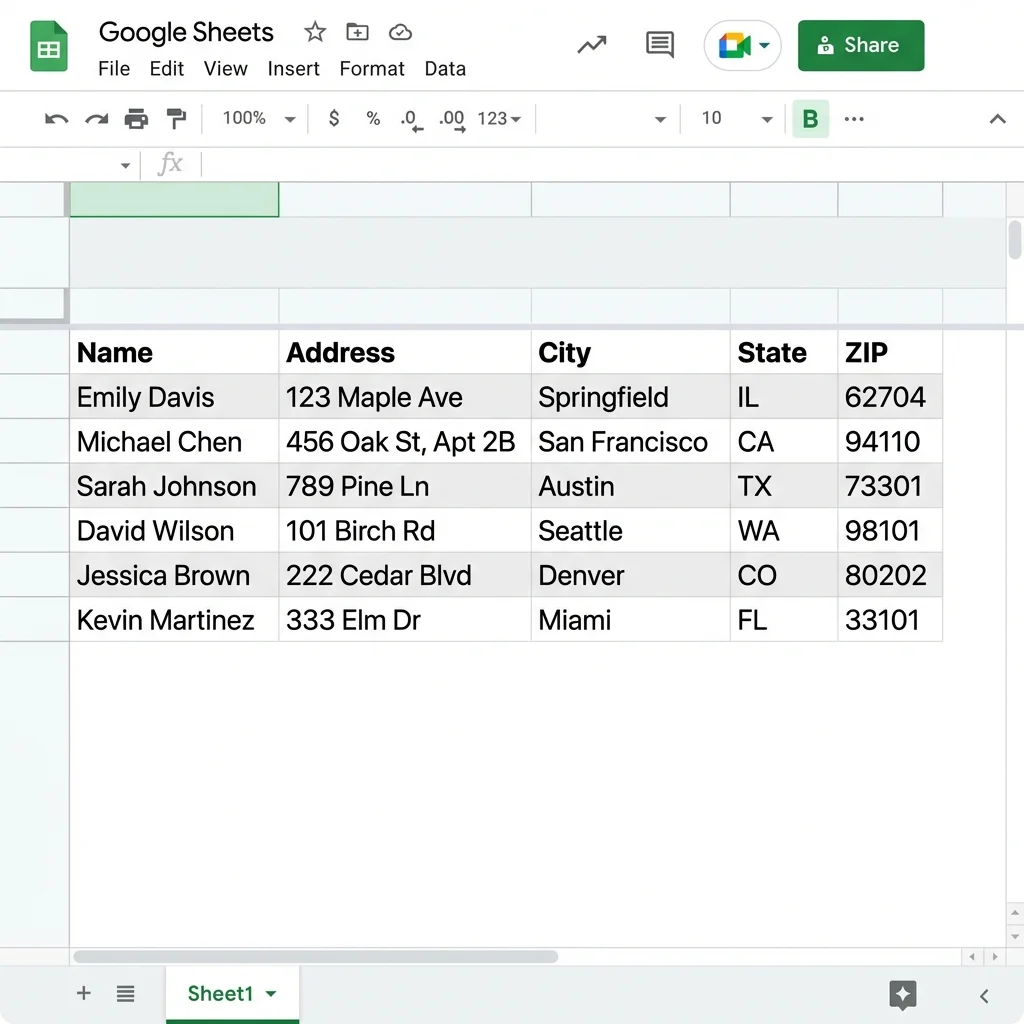
The active sheet should contain the address list you want to print.
Recommended columns:
| Column | Example |
|---|---|
full_name | Jordan Lee |
company | Northstar Studio |
address_line_1 | 120 Market Street |
address_line_2 | Suite 400 |
city | Boston |
state | MA |
zip | 02110 |
country | United States |
Clean up the sheet before launching:
- remove blank rows
- keep headers in Row 1
- store ZIP codes as text
- split apartment or suite details into a second address line when possible
- keep one recipient per row
Launch from the Extensions Menu
In Google Sheets, open:
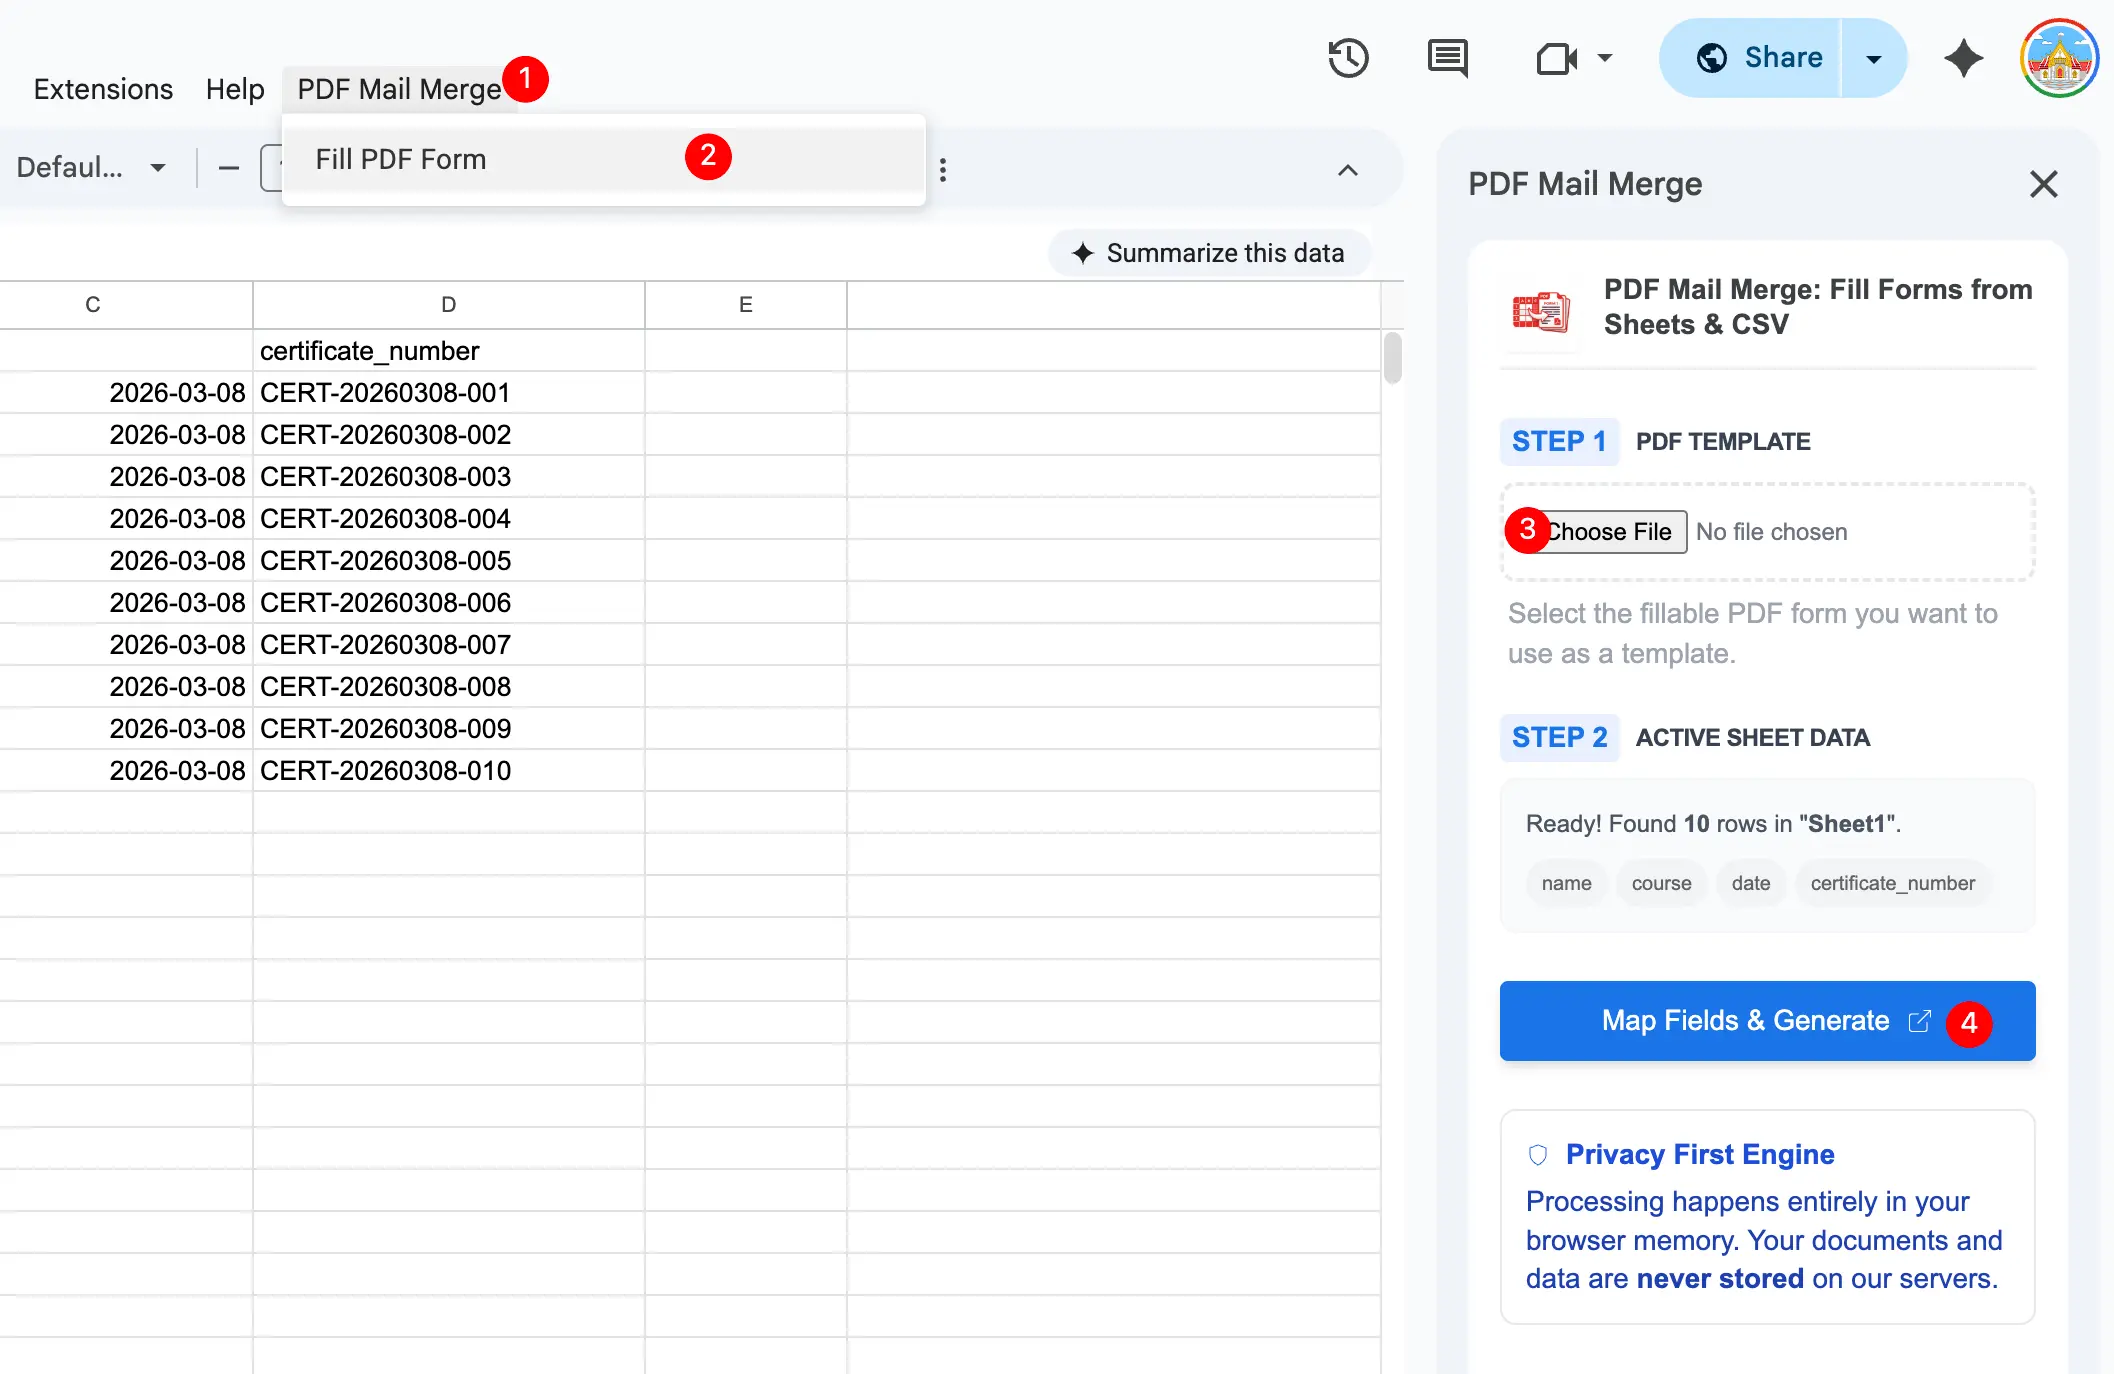
Extensions > Address Label Maker > Create Address Labels
The add-on reads the current sheet headers and rows, then opens the full label workflow in your browser. From there, you can choose the label template, map columns, adjust the layout visually, preview the full sheet, and export the PDF.
Continue in the Web Editor
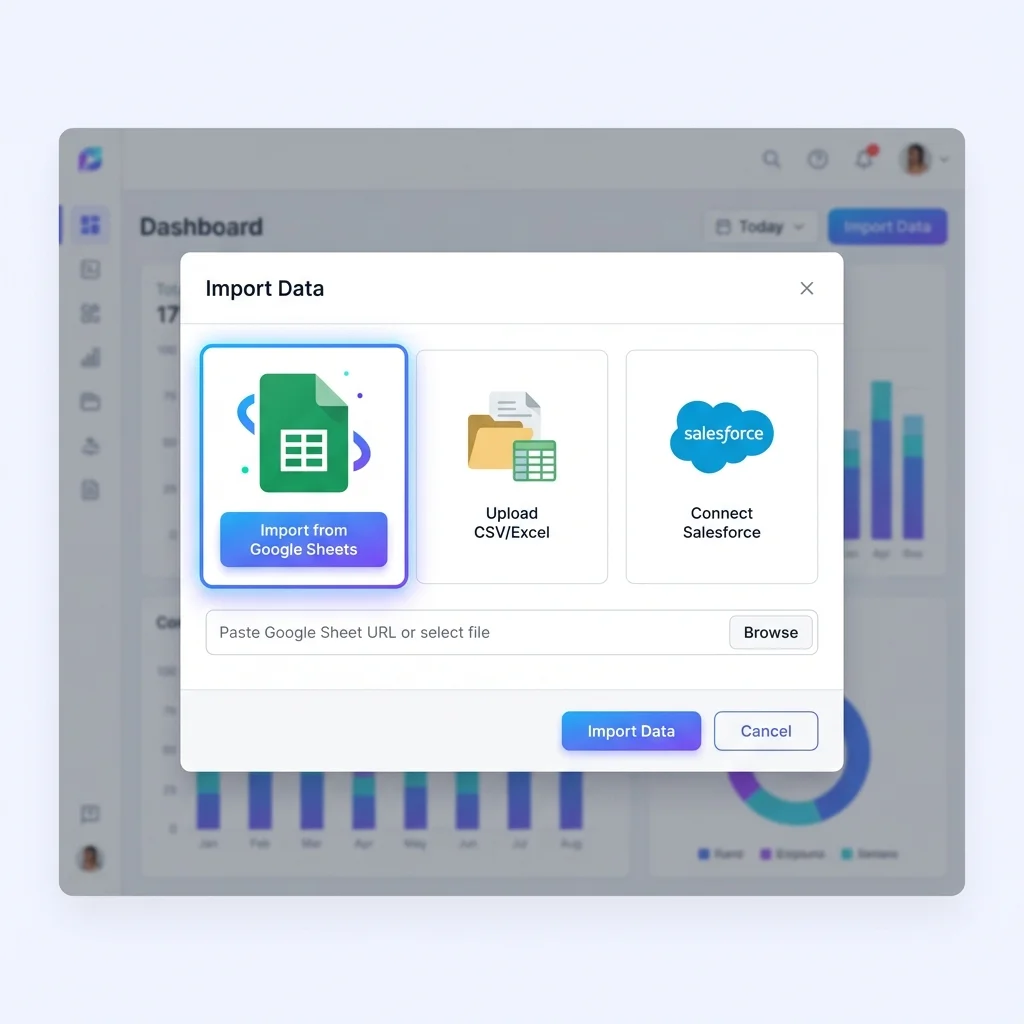
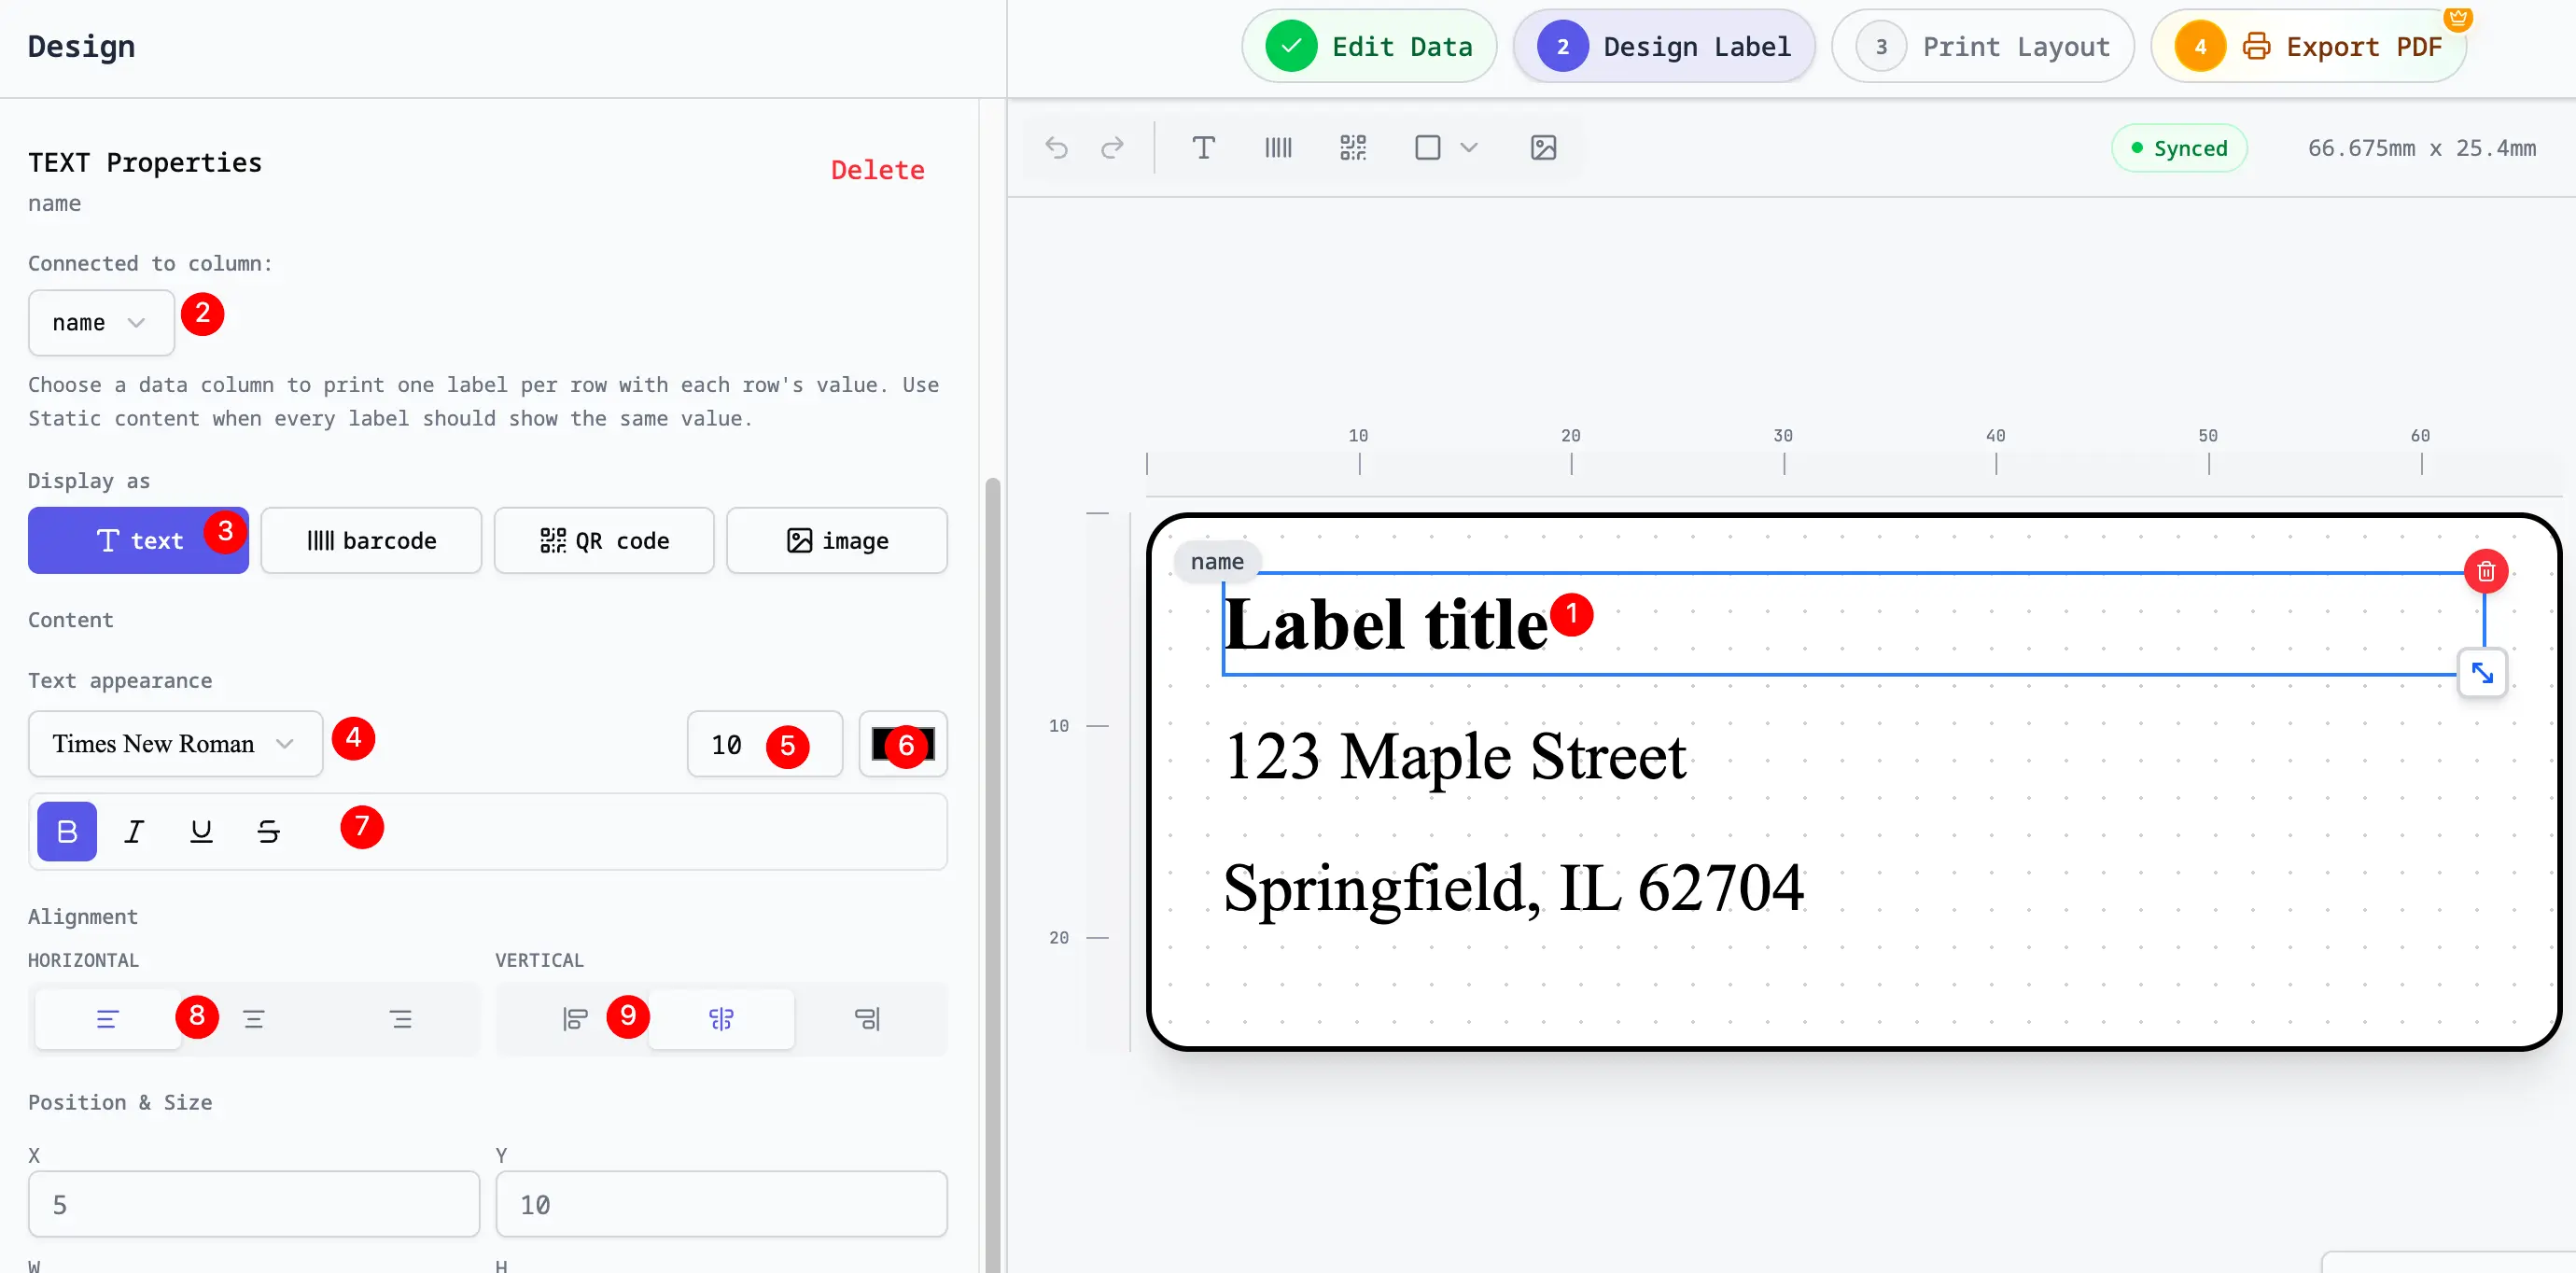
The web editor is where the main work happens. The add-on gets your rows out of Google Sheets; the browser editor gives you the visual workspace that is hard to fit into a narrow spreadsheet sidebar.
Use it to:
- choose Avery 5160-style labels or another address-label layout
- map name, company, street, city, state, ZIP, and country fields
- drag fields, logos, QR codes, or other elements when the label needs a custom layout
- see real sheet data in a WYSIWYG preview before exporting
- preview every label before printing
- export the final file
- test alignment before using label stock
This keeps the Google Sheets add-on lightweight while the full design and PDF export workflow stays in the browser.
Print the PDF Correctly
After exporting:
- Open the PDF in your normal PDF viewer.
- Print one test page on plain paper.
- Set scale to
100%orActual Size. - Turn off
Fit to PageandShrink to Fit. - Compare the test page with the label sheet.
- Print on label stock after alignment looks correct.
If the labels are shifted, read How to Fix Label Printing Misalignment.
When to Use the Add-on vs the Website
Use the Google Sheets add-on when:
- your list already lives in Google Sheets
- you want to launch from the active spreadsheet
- you prefer the Google Sheets Extensions menu
Use Address Label Maker directly when:
- your data is in Excel or CSV
- you want to paste rows manually
- you want to start from the website
- you are not already inside Google Sheets
Both paths lead to the same goal: a previewed, print-ready PDF.