
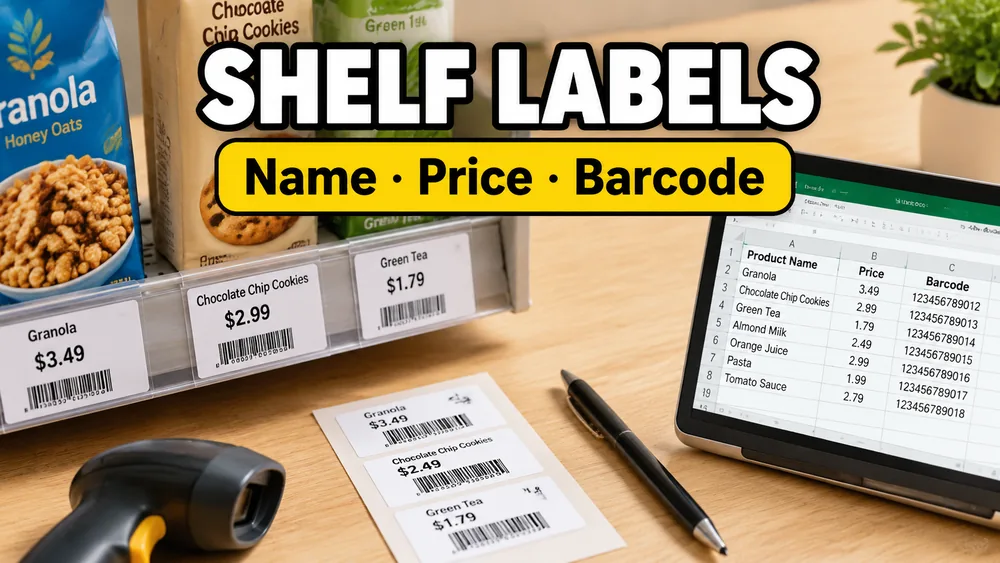
To print shelf labels with a product name, price, and barcode, keep one product per spreadsheet row, add columns for name, price, and barcode, choose a shelf-label layout, bind those columns to one reusable design, preview every row, export a PDF, and print at 100% / Actual Size.
You do not need to find a template that already contains every product. The useful part of a shelf label template is its layout. Your Excel, CSV, or Google Sheets rows supply the changing names, prices, and barcode values.
Use the Price Tag Maker to start with a retail label workflow, or open the Avery 5160 shelf label with name, price, and barcode if you already have 30-up Avery 5160 sheets.
Short Version
- Create spreadsheet columns named
name,price,barcode, and optionallyquantity. - Put one product or shelf position on each row.
- Open the Price Tag Maker.
- Import the Excel file, CSV, pasted rows, or shared Google Sheet.
- Choose Avery 5160, a larger sheet label, or a thermal-label size.
- Place the product name, price, and barcode on one label design.
- Bind each element to the matching spreadsheet column.
- Preview long names and the longest barcode value.
- Print a small test at
100% / Actual Sizeand scan it. - Export and print the full batch.
Set Up the Shelf Label Spreadsheet
Start with simple column headers. One row should describe one shelf label.
| name | price | barcode | quantity |
|---|---|---|---|
| Olive Ceramic Mug | $12.00 | SKU-1001 | 2 |
| Linen Market Tote | $24.00 | SKU-1002 | 1 |
| Handmade Soap Trio | $18.00 | SKU-1003 | 3 |
The minimum useful columns are:
name: the customer-facing product nameprice: the price exactly as it should print, including the currency symbolbarcode: the UPC, EAN, SKU, or other value encoded in the bars
Optional columns can make the same design work for more retail jobs:
skufor a human-readable stock codesale_pricefor markdown or promotion labelsunit_pricefor price-per-ounce or price-per-item informationlocationfor an aisle, bay, shelf, or binquantitywhen the same product needs more than one printed label
You can also start from CSV text:
name,price,barcode,quantity
Olive Ceramic Mug,$12.00,SKU-1001,2
Linen Market Tote,$24.00,SKU-1002,1
Handmade Soap Trio,$18.00,SKU-1003,3
Keep barcode columns formatted as text in Excel or Google Sheets when leading zeros matter. Otherwise, a value such as 001234567890 may be changed before it reaches the label.
Choose the Right Barcode Type
The barcode format must match the data and the way the labels will be used.
- Code 128 is a practical choice for internal SKUs containing letters, numbers, or hyphens.
- UPC-A is for an existing valid 12-digit retail UPC.
- EAN-13 is for an existing valid 13-digit EAN.
- QR code is better for a product URL or a longer lookup value, but it is not a replacement for a checkout UPC unless the point-of-sale system supports it.
A barcode generator does not assign official UPC or EAN product numbers. It prints the value already stored in your spreadsheet. If you only need internal inventory or shelf lookup, Code 128 is usually the simplest starting point.
For a deeper explanation, read How to Create Barcode Labels from Google Sheets.
Is Avery 5160 Large Enough for a Shelf Label?
Avery 5160-compatible labels are 2.625 x 1 inch and print 30 labels on a US Letter sheet. They can hold a short product name, a price, and a compact barcode, but the layout needs discipline.
Use Avery 5160 when:
- the product names are short
- the shelf edge or holder accepts a 1-inch-high label
- the barcode values are not unusually long
- you want to print on a standard office printer
Choose a larger label, such as Avery 5163-compatible stock or a 57 x 32 mm thermal label, when:
- names regularly wrap to three lines
- the price needs to be readable from farther away
- the barcode must scan from a checkout or inventory scanner at normal working distance
- you also need sale price, unit price, SKU, or location text
Do not shrink a barcode until it merely fits. A slightly larger label is cheaper than reprinting a full batch that cannot be scanned.
Design One Reusable Shelf Label
Open the Price Tag Maker, import the spreadsheet, and design one label. The same design will be filled with every row.
A clear small-label hierarchy is:
- Product name at the top
- Price in the largest text
- Barcode across the lower portion
- Human-readable SKU below or beside the barcode when space allows
Bind the elements as follows:
| Label element | Spreadsheet source |
|---|---|
| Product name text | name |
| Price text | price |
| Barcode graphic | barcode |
| Optional code text | sku or barcode |
Keep dark bars on a plain light background. Leave empty space around the left and right edges of a one-dimensional barcode. Avoid borders, icons, or text that touch the barcode area.
Preview Real Product Rows
Do not approve the design from the first sample only. Preview rows that represent the difficult cases:
- the longest product name
- the highest or widest price
- the longest barcode value
- a value with leading zeros
- a sale item with both regular and sale prices
If a long name collides with the price or barcode, shorten the display name, allow two lines, reduce only the name text slightly, or move to a larger label. The barcode should remain large enough to scan.
Print and Test Before the Full Batch
Export a test PDF and print one plain-paper page before using label stock.
- Set the PDF print scale to
100%,Actual Size, or the equivalent. - Turn off
Fit to Page,Shrink, and other automatic scaling. - Confirm the PDF and printer both use US Letter for Avery 5160 sheets.
- Hold the plain-paper test behind the label sheet to check alignment.
- Scan the shortest and longest barcode values with the scanner used in the store.
- Confirm that the decoded value exactly matches the spreadsheet.
If the top row aligns but lower rows drift, the likely cause is print scaling or a mismatch between the selected layout and physical sheet. See How to Fix Label Printing Misalignment.
Update Prices Without Rebuilding the Template
The main advantage of a spreadsheet-driven shelf label is that the design stays reusable.
When a price changes:
- Update the price in Excel or Google Sheets.
- Import or refresh the rows.
- Select only the changed products if you do not need the full batch.
- Preview the replacement labels.
- Export and print again.
The product name, price, barcode, and layout remain connected to the columns, so there is no need to retype each label or maintain a separate design file for every SKU.
Common Questions
Can I create shelf labels directly from Excel?
Yes. Keep one product per row, upload the workbook to the Price Tag Maker, bind the name, price, and barcode columns to one label design, then export a print-ready PDF.
Can I use Google Sheets instead?
Yes. Use Google Sheets to Labels or import a shared Google Sheet in the retail label workflow. This is useful when prices or product details change often.
Can Avery 5160 print a price and barcode?
Yes, when the name and barcode are compact. Avery 5160 is only 1 inch high, so test the longest product name and scan a printed barcode before committing to the full batch. Use a larger label if the design becomes crowded.
Why does the printed barcode not scan?
Common causes include an invalid UPC or EAN value, a barcode that is too small, insufficient white space, low print contrast, or print-dialog scaling. Test with Code 128 for internal SKUs, print at actual size, and use the scanner that will be used in the real workflow.
Do I need barcode images in the spreadsheet?
No. Store the barcode value as text. The label editor generates the barcode graphic and repeats it for each spreadsheet row.
Start Making Shelf Labels
Open the Price Tag Maker to create shelf labels from Excel, CSV, pasted product rows, or Google Sheets. Start with name, price, and barcode; choose the label stock that fits the actual shelf holder; then test one printed page before producing the full batch.